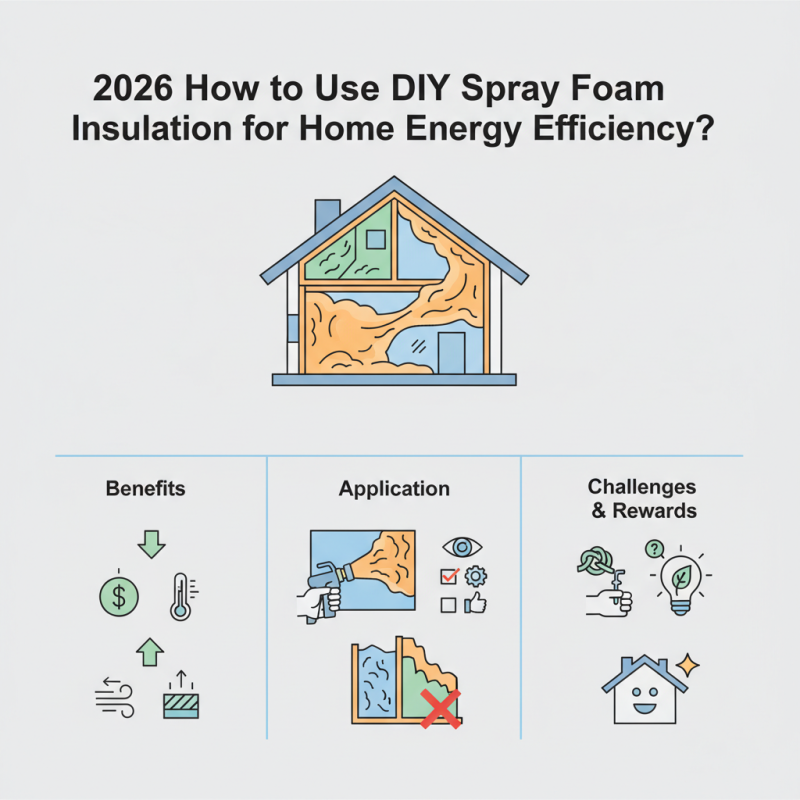
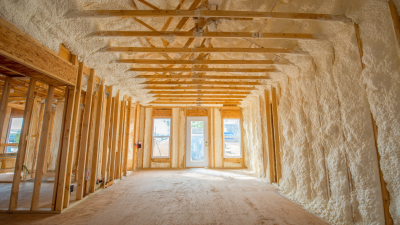
In recent years, homeowners have sought ways to improve energy efficiency. One cost-effective method is DIY spray foam insulation. This material provides excellent sealing and thermal resistance. However, many people overlook the importance of proper application.
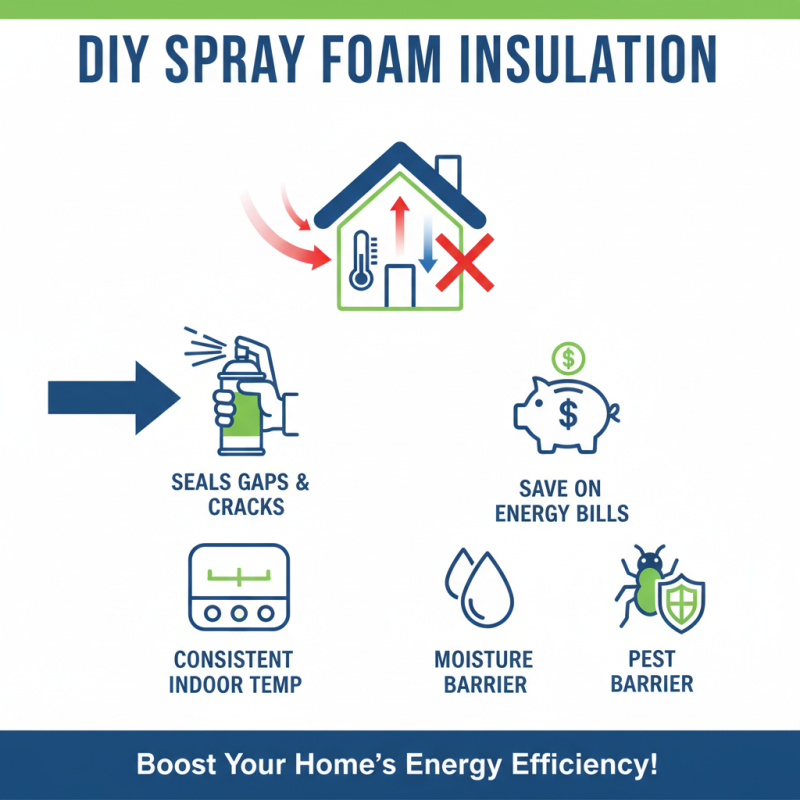
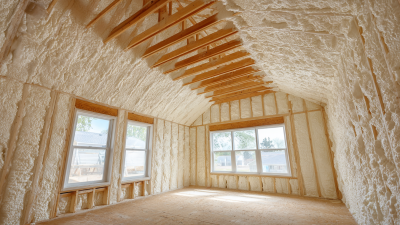
Using DIY spray foam insulation can significantly impact your home’s energy use. It acts as a barrier against air leaks. This can lead to lower energy bills and a more comfortable living space. Yet, achieving the best results requires attention to detail. Improper spraying can lead to uneven insulation, creating cold spots or moisture issues.
Working with DIY spray foam insulation is not without its challenges. It is important to follow instructions carefully. Mistakes can happen, and some users may feel overwhelmed. Learning from these experiences is crucial. Embracing the DIY approach can be rewarding, especially when done right. By focusing on careful application, you can maximize your home’s energy efficiency.
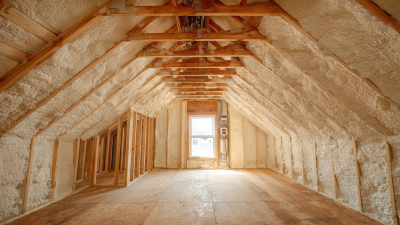
Spray foam insulation is a popular choice for enhancing energy efficiency in homes. This material expands to fill gaps, creating a strong barrier against air leaks. It can significantly reduce heating and cooling costs. Understanding its properties is essential for effective use.
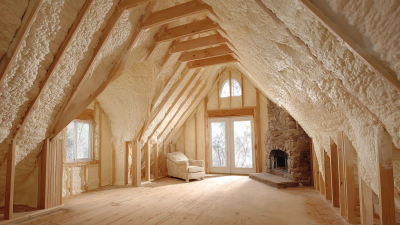
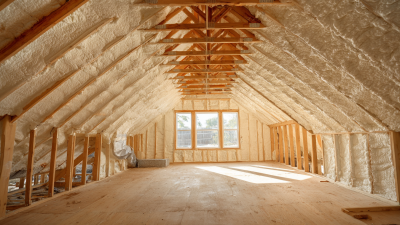
When considering spray foam insulation, it is crucial to assess your home's needs. Identify areas where air leakage occurs. Common spots include attics, basements, and around windows. Incorrect application may lead to moisture issues. Always wear protective gear when working.
Tips: Measure twice before cutting. Ensure the surface is clean and dry. Start small if you are new to the process. Layering spray foam can provide added insulation, but don’t overdo it. Pay attention to ventilation; it is vital during application. Allow time for curing before closing up spaces.
DIY spray foam insulation can significantly boost your home's energy efficiency. It seals gaps and cracks, which reduces heat loss. This simple method helps maintain a consistent temperature indoors. Many homeowners appreciate the cost savings on energy bills. The material also acts as a barrier against moisture and pests.
Tips: Ensure proper ventilation during installation. It’s crucial to wear protective gear. Poor ventilation can lead to harmful fumes. Test a small area first to gauge the application process. This helps you adjust your technique for better results.
Using spray foam insulation requires careful planning. Measure your spaces accurately. Improper measurements can lead to excess foam, wasting both material and money. Also, keep in mind that achieving a perfect finish takes practice. You're likely to encounter some bumps along the way. Reflect on your process, and don’t hesitate to learn as you go.
DIY spray foam insulation can significantly enhance your home's energy efficiency. Before you begin, gather your materials: spray foam kit, protective gear, and a utility knife. Ensure the area is well-ventilated. This is crucial for safety.
Start by cleaning the surfaces you plan to insulate. Dust and debris can affect adhesion. Apply the spray foam evenly, aiming for a 1-inch thickness. Pay attention to gaps around windows and doors. These areas often leak the most energy. Consider practicing on a scrap piece of wood. It helps you get a feel for the nozzle control.
Be mindful of excess foam. It expands rapidly and can create messy blobs. If this happens, use a utility knife to trim it off. Some might overapply, thinking it helps. But too much foam can lead to cracking and a less effective seal. Monitor your work closely. A small mistake can lead to larger problems later. Always reevaluate your technique as you go.
| Step | Description | Tools Required | Safety Tips |
|---|---|---|---|
| 1 | Prepare the area by covering floors and furniture to prevent overspray. | Drop cloths, plastic sheeting | Wear gloves and goggles. |
| 2 | Inspect and clean the surfaces where spray foam will be applied. | Cleaning supplies | Use a mask if dust is present. |
| 3 | Set up the spray foam canister according to manufacturer instructions. | Spray foam kit | Ensure good ventilation in the area. |
| 4 | Shake the canister thoroughly before use. | None | Avoid contact with skin. |
| 5 | Apply spray foam to the desired areas, moving in a steady pattern. | Spray foam applicator | Keep body and face protected. |
| 6 | Allow the foam to cure according to the manufacturer's guidelines. | Timer | Stay out of the area until cured. |
| 7 | Trim any excess foam after it has cured. | Utility knife | Cut away from the body. |
| 8 | Clean the tools and dispose of any waste materials properly. | Cleaning supplies, waste bags | Follow local disposal guidelines. |
When using DIY spray foam insulation, safety is crucial. According to the EPA, spray foam can contain harmful chemicals. These chemicals can cause respiratory issues and skin irritations. Proper safety measures must be taken before starting your project. Always wear protective gear, including gloves, goggles, and a respirator, especially in poorly ventilated areas.
Tips: Ensure adequate ventilation in your workspace. Open windows and doors to reduce fumes. Limit your exposure time to the foam mixture. It’s essential to let the foam cure properly before spending extended periods in the area.
Be aware of potential hazards associated with spray foam. Mixing components incorrectly can lead to off-gassing. This process can release irritating fumes. The National Institute for Occupational Safety and Health recommends monitoring air quality during application. Use a fan or air purifier to minimize inhalation risks.
Lastly, remember to clean up spills immediately. Uncured foam can be difficult to remove from surfaces. A dedicated foam remover can aid in cleanup. Learning from mistakes is part of the DIY process. Stay cautious and informed to ensure a safe insulation experience.
When installing DIY spray foam insulation, mistakes can undermine your energy efficiency goals. One common error is miscalculating the amount of foam needed. Too little foam will leave gaps. Too much can create an unnecessary mess, adding to your workload. Measure twice before you spray. This will save time and materials.
Another frequent mistake is improper surface preparation. Surfaces must be clean and dry. Dust, debris, or grease will prevent adhesion. A weak bond could lead to peeling and compromised insulation. Take the time to prepare your surfaces properly. It can make a huge difference in the end result.
Lastly, neglecting safety precautions is a serious issue. Always wear protective gear. Fumes can be harmful, and skin contact can cause irritation. Ensure good ventilation during application. These issues may seem minor but can lead to bigger problems. Reflect on your approach before you start.
Scan QR code to download the app
LSP Products was founded by plumbers over 50 years ago with a focus on unparalleled innovation, superior product quality, and best-in-class service to the plumbing industry. Our primary focus is the new construction market where we develop products that make installations easy and provide significant cost savings to the plumbing/mechanical contractor. LSP has a manufacturing facility located in Monterrey, Mexico and a distribution center in Dallas, Texas. We are proud to offer many products designed and made in North America… About LSP
Submit the form below to receive the document via email.

